In order to save as much money as possible so we could apply the cash to some electronic equipment, I prevailed upon my crafty friends to make the nesting boxes. I also prevailed upon my husband to make cement bird baths. Little did I know that he would take the simple idea to a new level. He's having fun and I'm loving his creativity.
So, here's a little photo journey through the process of Steave making a cement bird bath.
First, he created a mold out of scrap wood. He decided on an octagonal design and simply screwed the walls together so he could easily remove the sides when needed.
Second, he mixed a bag of cement with water.

Then Steave picked out the leaves that he wanted to use to create a design.

Then he placed the leaves carefully on the bowl (of which I will tell you more about later) which is inside the mold that he created.

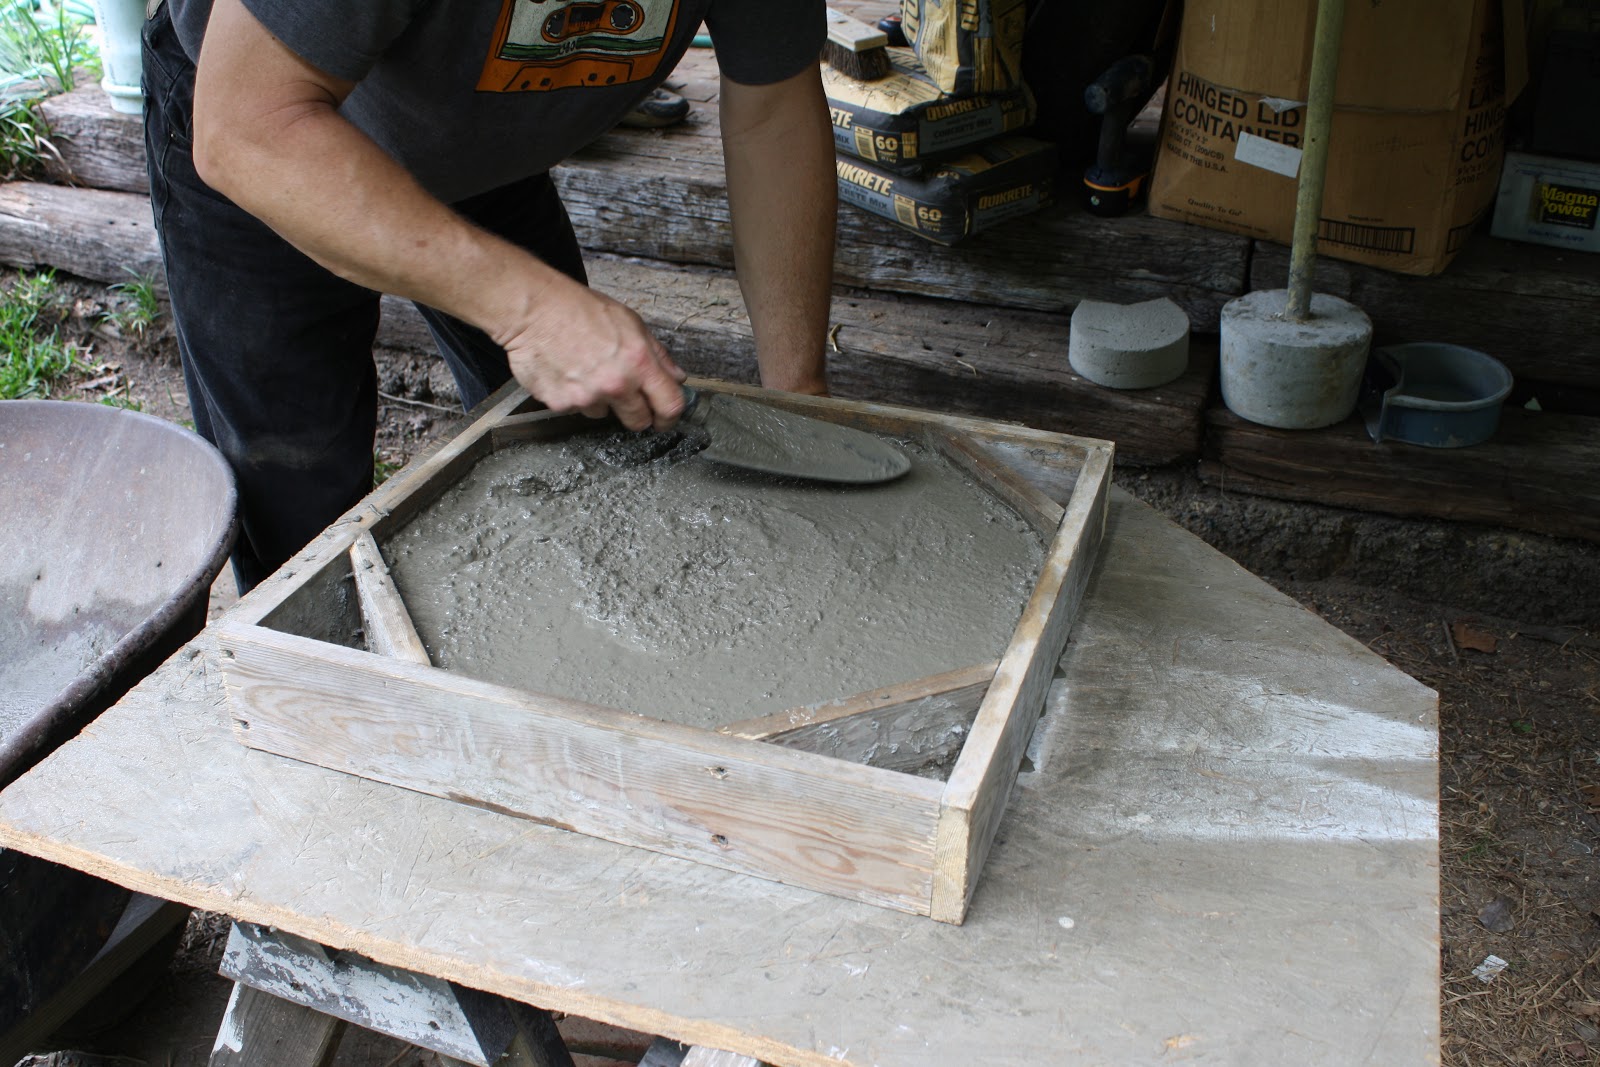
Next, he troweled the cement on to the bowl over the leaves in the mold.

He smushed (do you like that technical term?) the cement around the edges making sure it filled in fully.

Once he felt it was filled in (and he's much more careful than I would have been) he smoothed the bottom out.
Finally, he gently shook the whole form to help everything settle and to make the bubbles rise to the top. (or bottom, depending on how you look at it) Then he left it over night to dry.

The next morning, Steave put the whole form up on a couple of bricks to make removing the mold easier.

He loosened the screws on one corner of the mold and took it away from the outside edges.

Then he removed the bowl. Here's what I forgot to tell you. It is a plastic drainage dish from a flower pot I had. He attached a cabinet door knob to aid in removing the bowl once it was dry. Plastic is good because it's flexible and makes the removal easier. Each time he makes a bath, he makes sure that the bowl is centered carefully inside the mold.

Then comes the fun part of removing the leaves and seeing what the design looks like.

This one looks very pretty. Steave says to tell you to put it up on a stump of wood, but I like it on the ground near a shrub.

And here is the happy Bird Bath Master with several of his creations. (He's showing you to put it up on a stump. One of those baths is now on the stand that you see in the background. The original bowl was blown up during the filming of a WWII school video project. Not mentioning any names, Joel.

I've put in my next order of a Lizard Bath complete with sunning stone!